
Stillwater Reaches
A broad willow wetland with a short island circuit, a northern reed maze and an eastern chain of stone banks.
View Stillwater Reaches →The illustrated Pixlaria manual
159 places of Pixlaria and the way there from the town square: towns, villages, meadows, tombs, caves and dragons’ lairs.
159 entries
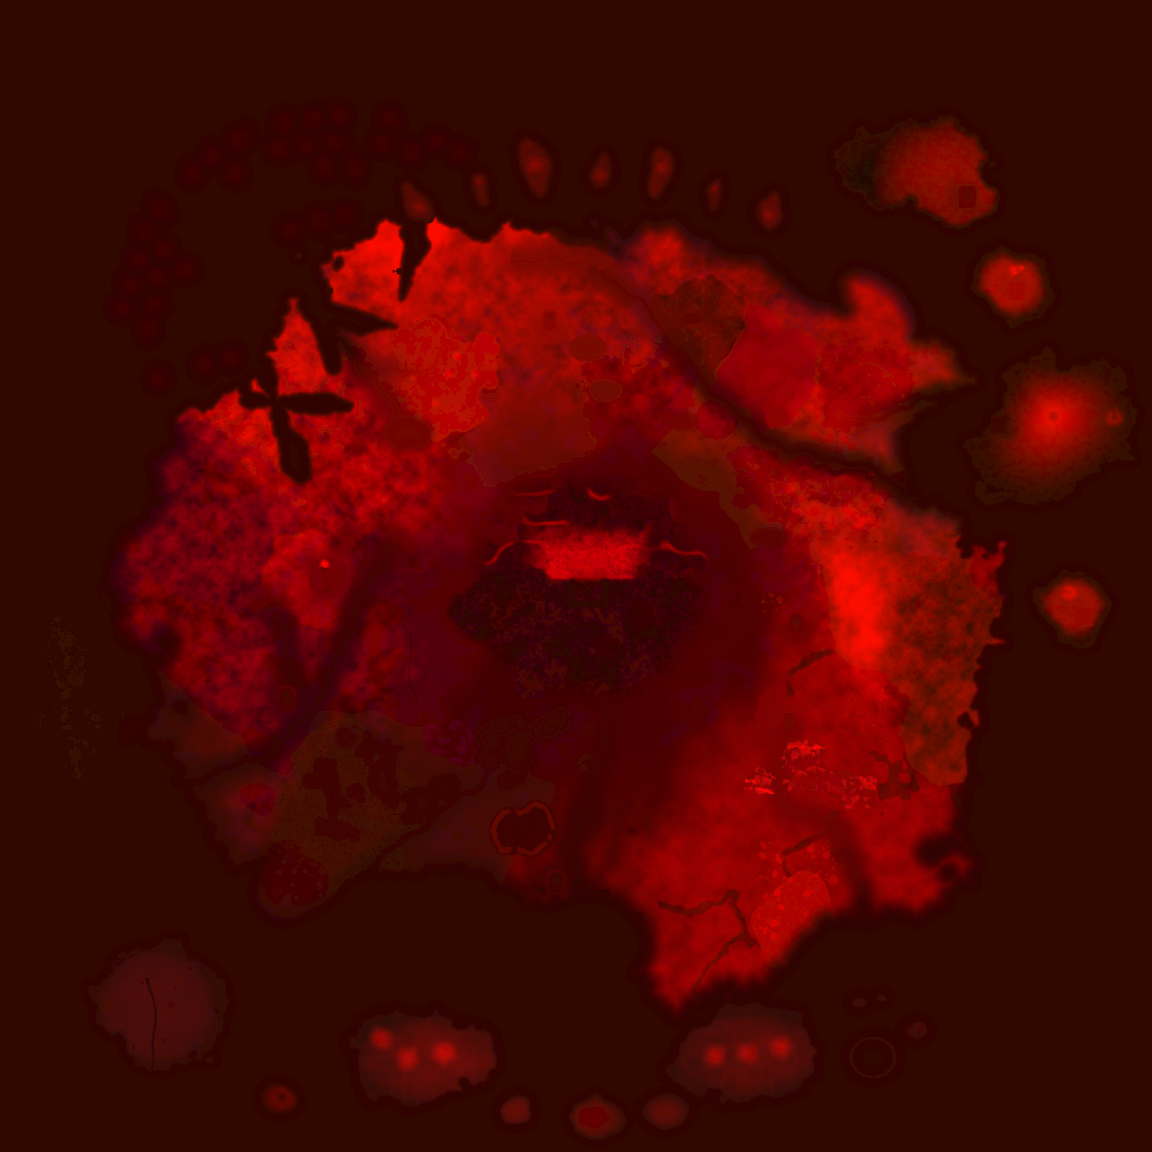
A broad willow wetland with a short island circuit, a northern reed maze and an eastern chain of stone banks.
View Stillwater Reaches →A peaceful public garden with winding paths, blossom groves, an orchard and a fountain.
View Garden of Eden →
Outlaw camps with patched shelters, abandoned carts and hidden supplies: three in the lowlands and eight in the snowy north.
View Thug camps →
Three open-air centaur settlements with tall woven pavilions, archery grounds and bronze standards.
View Centaur villages →
Five ragged settlements of patched tents, painted totems and cooking fires.
View Goblin villages →A sheltered harbour of weathered timber and copper roofs on Dragonspire Isle.
View Emberquay →A peaceful basalt-and-copper city beside the dragon lairs of Dragonspire Isle.
View Cindervow →
Eight Frost dragons guard an open-air basin of blue ice and snowbound ridges.
View Frostdrake Basin →
A smaller volcanic island with Emberhaven and ten separate Ashcrown caves.
View Cinderwake Isle →
An obsidian island with Duskhaven and ten separate Black dragon caves.
View Nightshore Isle →Rootfang spiders and fjord trolls shelter beneath the tangled roots.
View Rootvein Grotto →Rime wolves and glacier giants patrol the broad ice crossings.
View Hollowice Chasm →Mire hydras and bog wraiths haunt the paths around the drowned pools.
View Drowned Lantern Cavern →Redrock scorpions and Ironhorn beetles guard the sunken sandstone halls.
View Sunscar Vault →Hollow Wardens and Ancient Wardens keep watch between the old burial halls.
View Crowbone Catacombs →Shale beetles and Gloomwidows nest around the fractured crystal beds.
View Prismfall Cavern →Goblin brutes and elders gather in the winding earthen chambers.
View Emberroot Burrows →Cave trolls and troll elders shelter beside the still limestone pools.
View Moonwater Refuge →Cyclops, Combat 45, guard broad limestone halls around a broken stone ridge.
View Stoneeye Hollow →Combat 70 Duskwidows and Combat 85 Gloomwidows hunt in the webbed side chambers.
View Mournsilk Hollows →Combat 100 Rootfang spiders guard the root arches. Step away from amber web warnings.
View Rootveil Burrows →Silkmaw, the Brood Matriarch, Combat 180. A group encounter above Ashcrown: dodge venom fans, spread for web markings, and expect a faster final phase. The southern approach is outside her arena.
View The Silken Throne →A second Silkmaw, the Brood Matriarch, Combat 180, waits in this separate lair. The southern approach is outside her arena. Defeated Silkmaws return at the next :00, :10, :20, :30, :40 or :50; difficulty and rewards per kill are the same.
View The Brood Hollow →Nightweaver, the Pale Empress, Combat 220. Stronger than Silkmaw: escape the crossing web lanes, dodge venom and watch her pursuing lunge. The southern approach is outside her arena. After defeat, she returns at the next :00, :10, :20, :30, :40 or :50.
View The Pale Loom →Ashkar, the Sunscourge, Combat 250. Stronger than Nightweaver: escape marked burrow strikes, move away from the sweeping tail and spread for venom. The southern approach is outside the arena. After defeat, he returns at the next :00, :10, :20, :30, :40 or :50.
View The Sunscourge Vault →
Applewick’s village pub: a warm hearth, three tables and Mr. Pickles at the bar.
View Pickles Pub →
A planned starter town with a welcome house, protected services and a beginner practice meadow.
View Aldermore →A planned starter town with a welcome house, protected services and a beginner practice meadow.
View Applewick →A planned starter town with a welcome house, protected services and a beginner practice meadow.
View Waylinden →A planned starter town with a welcome house, protected services and a beginner practice meadow.
View Cloverhame →A planned starter town with a welcome house, protected services and a beginner practice meadow.
View Brackenholm →A planned starter town with a welcome house, protected services and a beginner practice meadow.
View Amberwold →A planned starter town with a welcome house, protected services and a beginner practice meadow.
View Dawnlinden →A planned starter town with a welcome house, protected services and a beginner practice meadow.
View Snowhaven →A planned starter town with a welcome house, protected services and a beginner practice meadow.
View Foxglade →A planned starter town with a welcome house, protected services and a beginner practice meadow.
View Sunmeadow →
Eight mainland caves with level-70 Duskwidows upstairs and stronger level-85 Gloomwidows below.
View The Spider Dens →
A two-floor beginner cave with Skeletons upstairs and Big skeletons below.
View Lantern Hollow →A two-floor beginner cave with Skeletons upstairs and Big skeletons below.
View Alderroot Hollow →A two-floor beginner cave with Skeletons upstairs and Big skeletons below.
View Orchard Burrows →A two-floor beginner cave with Skeletons upstairs and Big skeletons below.
View Wayfarer Cavern →A two-floor beginner cave with Skeletons upstairs and Big skeletons below.
View Cloverroot Hollow →A two-floor beginner cave with Skeletons upstairs and Big skeletons below.
View Fernshade Cavern →A two-floor beginner cave with Skeletons upstairs and Big skeletons below.
View Willowroot Hollow →A two-floor beginner cave with Skeletons upstairs and Big skeletons below.
View Amberstone Grotto →A two-floor beginner cave with Skeletons upstairs and Big skeletons below.
View Hearthstone Hollow →A two-floor beginner cave with Skeletons upstairs and Big skeletons below.
View Hazelroot Burrows →A two-floor beginner cave with Skeletons upstairs and Big skeletons below.
View Dawnstone Cavern →A two-floor beginner cave with Skeletons upstairs and Big skeletons below.
View Pinebarrow Grotto →A two-floor beginner cave with Skeletons upstairs and Big skeletons below.
View Snowbell Cavern →A two-floor beginner cave with Skeletons upstairs and Big skeletons below.
View Oakroot Hollow →A two-floor beginner cave with Skeletons upstairs and Big skeletons below.
View Mossveil Grotto →A two-floor beginner cave with Skeletons upstairs and Big skeletons below.
View Hearthlight Hollow →A two-floor beginner cave with Skeletons upstairs and Big skeletons below.
View Meadowroot Hollow →A two-floor beginner cave with Skeletons upstairs and Big skeletons below.
View Flintroot Hollow →A two-floor beginner cave with Skeletons upstairs and Big skeletons below.
View Reedroot Grotto →A two-floor beginner cave with Skeletons upstairs and Big skeletons below.
View Snowember Hollow →Two spacious ice arenas north of Snowhaven, each guarded by an adult Frost dragon boss.
View Snowglass Cavern →
An optional frozen den where wolves hunt together, with room for area attacks and friends.
View Frostfang Den →A cave west of Hazelmere: centaurs in its long halls, and a hydra in the flooded hall below them.
View Stonehoof Halls →
A living tree spirit and its rootlings guard a quiet grassy clearing.
View Briarheart Glade →Twenty broad, quiet islands in the southern sea beside the jungle, available as shared guild homes.
View Guild Archipelago →A vast black-stone wizard castle with four dangerous floors of level-165 Obsidian Wizards.
View Obsidian Citadel →A green island of blue-robed scholars, standing stones and quiet study groves.
View Wizard's Island →A mainland wizard grove marked by pale blue crystals and standing stones.
View Blueveil Grove →A mainland wizard grove marked by pale blue crystals and standing stones.
View Starfall Glade →Four floors of wizard studies, ending in a Grandmaster encounter.
View Azure Grotto →Four floors of wizard studies, ending in a Grandmaster encounter.
View Blueveil Caverns →Four floors of wizard studies, ending in a Grandmaster encounter.
View Blueveil Grove Caverns →Four floors of wizard studies, ending in a Grandmaster encounter.
View Starfall Glade Caverns →Four floors of wizard studies, ending in a Grandmaster encounter.
View Starfall Conclave →A frozen blue basin below snow ridges. Goats graze the shore; frost lynxes stalk the eastern pines.
View Mirror Basin →A sea channel splits the rocky headland. Land on the southern shore; frost giants hold the far northern ridge.
View Riven Fjord →Wind-cut terraces surround a green spring. Camels shelter by the lower sands; scorpions patrol the dry rim.
View Amber Terraces →Winding tidal channels divide willow banks and palm groves. Keep a boat handy; alligators and monitors guard the inland banks.
View Willow Delta →
A fallen northern court beneath the snow, where the level-160 Rimebound Sovereign guards its broken crown.
View Winterglass Sanctum →
A moss-lit hollow beneath the southwestern woods, where the ancient Stormroot Colossus guards an amber heart.
View Heartwood Hollow →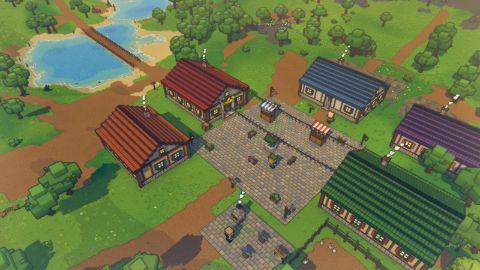
The first starter town, home to the earliest normal and Oathbound residents.
View Pioneeria →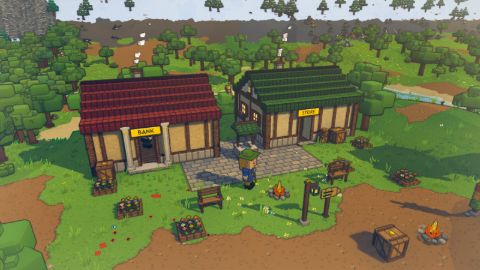
A hamlet of beekeepers a walk west of town: a bank, a store, a campfire, and the old oak where Old Henry’s hat came down.
View Honeybrook →
A remote southwestern meadow town with a crescent lane, an open green, shops, the Clover Rest and a village green.
View Cloverford →A distant eastern meadow town, grown around an old waystation: a green, a market, shops, the Wayfarer Inn and a village green.
View Waybirch →A western lakeside town with a market court, shops, the Alder Inn and a village green.
View Alderhame →
A southern meadow town: a market court, working smithy, the Apple Inn and a quiet orchard beside its village green.
View Ciderbrook →
A pair of pheasants in the grass beside the Honeybrook road, just west of town: the place for a tail feather.
View Pheasant Meadow →A ring of old stones round a flat one, at the top of the north road under the hill: where Old Henry found a dragon’s egg as a boy.
View The Humming Stones →
Broad, level meadows just past the heartland’s edge, made for building a home: Sunnyholm to the east and Larkfield to the south.
View The Settlers’ Meadows →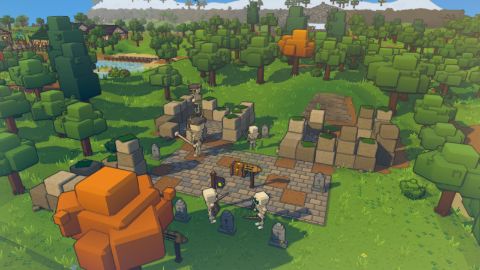
A ruin the skeletons kept after the people left: broken walls, gravestones and an old barrel of bones.
View Bonehollow →
Every starting town's graveyard has its own crypt: 11 in all, each with two floors and its own Bone Sovereign.
View Town crypts →A fenced yard of gravestones and restless skeletons on the far north-western shore, across the water.
View The Old Graveyard →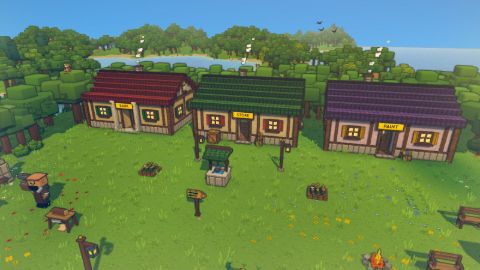
A whole village of trades on the far south-western shore: a bank, a store, a paint shop, a smithy and a sawbench.
View Tidewell →
There’s a bench by the fire on the north road from Pioneeria. The chest opens your bank.
View Frostwatch →
Fixed towns and villages, with landmarks in the country between them, each a place of its own with a name on the map.
View Settlements and landmarks →
The fishing village nearest the town, far to the south-west across the water: home of Salty Pete.
View Bellhaven →
The oasis village nearest the town, far to the west at the edge of the deep desert: the last well before the tombs of the kings.
View Kingsrest →
The last village before the Sun Gate, far to the west at the edge of the deep desert, past Kingsrest.
View Sunshade →
A well and a grove of date palms at the tip of a green headland far to the west, where boats coming along the coast put in.
View Daterest →
A fishing village on a beach of oyster shells, on the bay north of Alderhame Harbour: the boatwrights’ bay.
View Oystersands →A great old oak south-west of Kingsrest, where the desert sand turns green on the way to Oystersands.
View The Mossy Oak →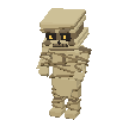
Two doorways of dressed sandstone half buried in the dunes of the deep desert, and the tombs below them: the Ivory Tomb and the Sun Gate’s royal tomb.
View The desert tombs →
The desert’s royal tomb lies below the Sun Gate: the Pharaoh wakes beside his golden coffin, and a sand dragon sleeps below.
View The Sun Gate and its royal tomb →
Down the steps behind the Pharaoh’s golden coffin: two Sand dragons in separate sandstone chambers, with the king’s gold in the original hall.
View The Sand Vault →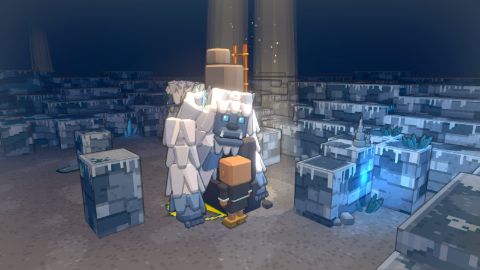
Cave entrances all over the world go down into the dark: the deeper, the more dangerous, and the far caves go deeper still.
View Caves →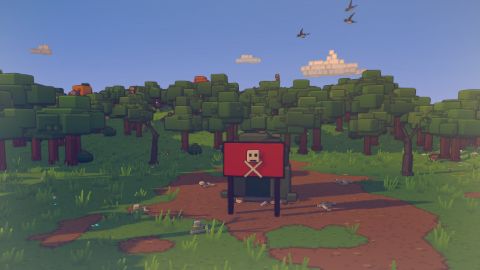
Where the great dragons live, far from everything: a big red sign means turn round.
View The dragons’ lairs →
Three remote rest stops with a campfire and a merchant, far out along the ways.
View Waystations and trail merchants →
Remote country thousands of tiles out, where rare creatures live and nowhere else.
View The far regions →
Four wild lands rise from the sea round the mainland, with no town or road: the strongest creatures yet, and the farther inland, the harder.
View The wild lands over the sea →A volcano in the eastern sea where the mightiest dragons live: black dragons on its lower slopes, copper dragons higher up, and Ashcrown, the eldest, in its crater.
View Dragonspire Isle →The former northern battlefield is now safe from player attacks.
View Northreach Wilds →
Broad rainforest coasts, palm bays and island chains beyond the old Jungle Isles.
View Outer Jungle →
Cold northern islands beyond the old sea edge, with snowy pines and quiet bays.
View Frostbound Isles →
A separate north-eastern PvP island: haunted ground, valuable resources and a clearly marked danger border.
View Northreach Isle →Ask Una Waymark at the Wayfarer’s Lodge, just east of Pioneeria’s stables (101, 63). This is a walking story with no combat or skill requirement.
View Wayfarer’s Lodge →Read the Willowbank Field Station sign at 56, 126, west of Pioneeria’s lake. From the square, go west past the bank, then follow the path south along the west shore and the short station lane.
View Willowbank Field Station →Ask Kez Rivet at the Second Try Workshop, west of Pioneeria’s starter quarry (66, 70). You will need four ordinary planks; no combat or advanced skill is required.
View Second Try Workshop →Take a boat south of Pioneeria, beyond Seal Horn Light, to Broken Compass Shoal. Search the sea chest beside the wreck. Combat 15 is recommended for the journey, but there is no level gate or required fight at the three discovery sites. Bring food.
View Broken Compass Shoal →Sail south-southwest to Lantern Cove. Enter its eastern inlet and examine the old camp beside the lantern. The crew left their clue where spray could not reach it.
View Lantern Cove →Sail east to Gullwatch Isle and inspect the lighthouse mechanism. The drawing shows the long shutter arm facing the dawn: east. You need no tools or Firemaking level.
View Gullwatch Isle →Sail south beyond Gullwatch Isle to Splitkeel Shoal. The wreck carries the mark of a shipyard missing from modern charts. Any boat works; Combat 35 is recommended for travel, but the three story sites require no fighting or skill level. Bring food.
View Splitkeel Shoal →Find Stillwater Yard and inspect its plans table. The old launch cradle still straddles the slipway.
View Stillwater Yard →Sail southwest to Ternhaven. Iona Keel lives beside the chart table. She offers one last navigation exercise before awarding the yard’s pennant.
View Ternhaven →Visit Brackwater Mill by boat. Bram says someone runs his mill at midnight. Combat 25 recommended for the journey; no fight is required. The story needs one flour, available here from two wheat or from existing shops. You never need to wait for night.
View Brackwater Mill →Learn what Lantern Reach actually needs.
View Lantern Reach →Find Tilda Wick’s cottage in Moonveil Wood on the mainland. Combat 45 recommended for the journey; the main story requires no combat, materials or waiting for night.
View The Lanternkeeper’s Cottage →Work out what the first waystone was meant to remember.
View The Listening Grove →Read the pond’s clue; do not walk into the water.
View Mirrorwater Pond →Find out why the waystones stopped guiding travellers.
View The Rootbound Library →Investigate the missing Starbow patrol. Combat 90 recommended; dangerous hunting clearings are signed and avoidable. No Archery level or earlier quest is required.
View Starbow Lodge →Read the tracks where the hunting trails divide.
View Silverleaf Trails →Find out why the watch stopped answering.
View The Broken Watch →Meet the patrol’s survivor and learn the old warning code.
View Lastleaf Refuge →Read the ranger who designed the signal network.
View The Patient Eye →Set the danger shutter using the lookout’s diagram.
View The Threefold Signal →Read the water ledger at 1120, -1350. Combat 65 recommended. The cottage door is at 1120, -1344.
View Fernkeeper Cottage →Inspect the spring marker at 1072, -1979, north of Glimmerbrook Crossing.
View Glimmerbrook Spring →Repair the sluice at 1130, -1780 beside the southern pool. Bring 3 ordinary logs; no skill level is required.
View Glimmerbrook Pool →Read the tracking notebook at 1280, -1040. Combat 80 recommended; keep to the signed trail.
View Silverhoof Rest →Inspect the prints beside the trail at 1410, -1010.
View Splitroot Marker →Read the trail evidence at 1660, -1040. Prowlers hunt off the path; the route itself stays clear.
View Silverleaf Hollow →Use the observation notebook at 1730, -850. No kill or Archery level is required.
View Hartsong Overlook →Read the survey marker on Moonmere’s eastern shore at 994, -1560, west of Moonveil. No trail reaches the lake: leave the woodland path at the MOONMERE sign, 1077, -1633, and walk south-west through the trees.
View Moonmere →Bring 2 mushrooms to the survey marker on the Starglass Tarn’s western shore at 1674, -1452; a ring of glowing mushrooms grows beside it (Foraging 10). No trail reaches the Tarn: from the STARGLASS TARN sign by Starbow Lodge, 1563, -1575, walk south-east through the trees. Moon wisps drift on the far shore; you need not fight them.
View Starglass Tarn →An expedition went missing west of Dawnlinden. Follow the valley trail to Last Supper Camp. Combat 40 is recommended for the journey; the main investigation requires no fights, materials or skill levels. Bring food and use Lantern in the cavern.
View Last Supper Camp →The bridge has collapsed. Read the maintenance board before choosing a way around the ravine.
View Broken Crossing →Search Hushbrook’s records house. Its inhabitants left willingly; discover why the map pretends it never existed.
View Hushbrook →Follow Glasswater’s western boardwalk to the reflection plate. Read the mirrored inscription using the lake.
View Glasswater Cavern →Find the expedition alive inside the Buried Observatory. Help Mara restore the instrument without publishing the refuge’s coordinates.
View The Buried Observatory →Find Siltstep Landing in the Drowned Fens. Ferry keeper Nessa needs someone to explain why the route bell still calls for a crossing. Dangerous wetland creatures live nearby; this investigation requires no fighting.
View Siltstep Landing →Read the signal plate at Crooked Bell Station. Work out what its old markings meant before assuming the crossing is safe.
View Crooked Bell Station →Compare the dated water records in the High-water Office. Find a route that the records actually support.
View The High-water Office →Bera Sixbells keeps the forge quarter of Bellowsgate, the western hold of the Bellows Marches, south of Fairmeadow. A little bell over her forge rings for seven hammers, and only six answer. Ask her why it insists. The story ends among the Blackslag crew (Combat 98 to 104), though it asks you to defeat none of them: come at about Combat 100.
View Bellowsgate →Hroth Twinaxe put the quarrel on his balance and it would not tip: each hold is sure the other owes the Blackslag crew. Nobody has weighed the tally itself. It still stands where the smelting was done. Read the tally board at the Old Smelter, south-east of Copperwake, down the path that leaves the haul road east of the town.
View Old Smelter →The long table in the dining room is laid for a supper no one ate. Beside the place at its far end lies a page torn from a diary.
View Hollowmere Manor →On the desk in the Lantern Inn’s hall lies the guest book, open at its last page.
View The Lantern Inn →Bare footprints in the flour cross the Old Mill’s floor from the door to a heap of sacks, and stop.
View The Old Mill →In the Drowned Chapel’s chancel a stand of cold candles waits before the flooded pews, a taper beside it.
View The Drowned Chapel →At the foot of the widow’s bed a cradle rocks by itself, and the music box in it plays.
View The Widow’s Cottage →Ask Maera Windward at Cairnford, the herders’ camp in the south-west of the Thunderfell Highlands (-906, -1255). Combat 85 is recommended: the story ends inside Stormhold.
View Cairnford →Read the altar stone in the middle of the Ninestones (-778, -1690), north of Cairnford on the Galeway.
View The Ninestones →Enter Stormhold (-538, -2180), the hill giants’ hall under the northern crags, and examine the high seat at the end of the long table. The Storm Giant Jarl (Combat 98) sits before it, and his hill giants keep the hall.
View Stormhold →Reference entries are generated from the current game data. Artwork comes from the actual game. Pixlaria is in alpha; balance and content can change.